When it comes to photography, one of the most important steps to take is to create proper lighting. The lighting not only influences the tone of the photos but also determines the quality of the images. When you want to manipulate the photo when taking pictures of models, there are a few photography lighting tips to keep in mind.
Shadows Create Volume
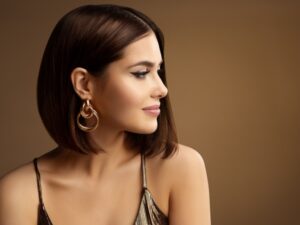
In model photography, one of the most effective ways to add depth and dimension to your images is by strategically using shadows. Shadows can create a sense of volume, making your subjects appear more three-dimensional and lifelike. To achieve this, consider the direction and angle of your light source.
Angular lighting is particularly useful when aiming to create dramatic shadows that enhance the contours and features of your model. Position your light source at an angle relative to your model rather than straight on. This technique accentuates the natural curves and lines of the body, giving the image a more dynamic and sculpted appearance.
For instance, if you’re shooting a portrait, placing the light source at a 45-degree angle to the model can highlight the cheekbones and jawline, creating a more striking and defined look. This method, often referred to as “Rembrandt lighting,” is named after the famous painter who used similar lighting techniques in his artwork to create depth and dimension.
Experiment with different angles and intensities of light to find the perfect balance that flatters your model and suits the mood of your shoot. Remember, shadows can either enhance or detract from the final image, so take the time to adjust your lighting setup until you achieve the desired effect.
Create Diffused Light with Backlight
Diffused light is essential for creating soft, flattering images, especially when photographing models. One effective way to achieve diffused light is by using backlighting. This technique involves placing the light source behind your model, allowing the light to wrap around them and create a gentle, glowing effect.
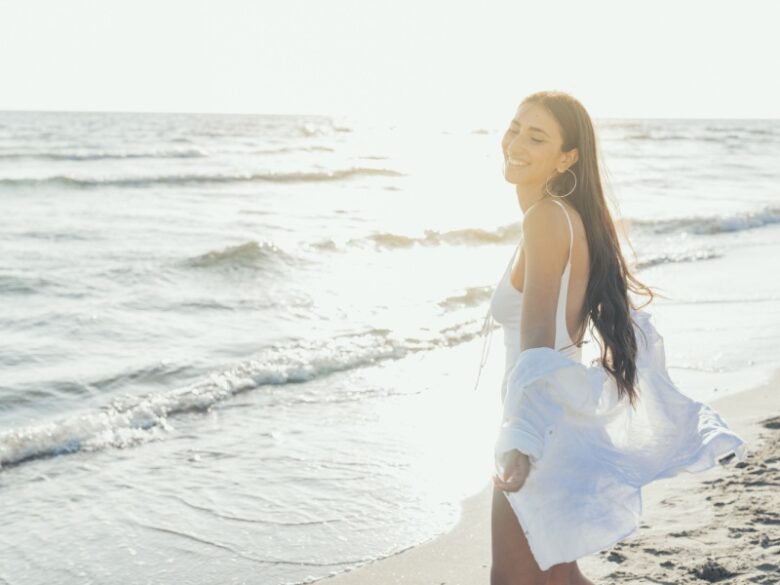
Backlighting can be particularly effective when shooting against a bright background, such as a large window or an outdoor scene with the sun low in the sky. The light from behind the model will create a silhouette effect, emphasizing their shape and adding a sense of drama to the image.
To enhance this effect, increase the exposure of your camera to allow more light to fall onto your model. This technique will help balance the exposure between the background and the model, ensuring that both are properly lit and visible in the final image.
When using backlighting, consider incorporating reflectors or diffusers to bounce light back onto the front of the model. This will help fill in any harsh shadows and create a more balanced, evenly lit image. Reflectors can be as simple as a white piece of cardboard or a specialized photography tool designed to reflect light.
By mastering the use of backlighting and diffused light, you can create stunning, ethereal images that highlight the beauty and elegance of your model.
Remember That Light Has Colors
One of the most important aspects of photography lighting is understanding that light has color. The color temperature of light can significantly impact the mood and tone of your images, so it’s crucial to choose the right lighting conditions for your shoot.
Natural light varies in color throughout the day. Early morning and late afternoon light, often referred to as “golden hour,” has a warm, yellowish tone that can add a soft, romantic quality to your photos. This type of light is ideal for creating a cozy, inviting atmosphere in your images.
On the other hand, midday sunlight tends to be harsher and cooler in tone, which can create more contrast and sharper shadows. While this type of light can be more challenging to work with, it can also produce striking, high-contrast images when used correctly.
If you’re shooting indoors or in controlled environments, you can manipulate the color of your light using artificial sources. Tungsten light bulbs, for example, emit a warm, yellowish light that can mimic the look of golden hour. Fluorescent lights, on the other hand, tend to be cooler and can create a more clinical, modern feel.
When shooting with a digital camera, take advantage of the white-balance control feature. This setting allows you to adjust the color balance of your images, neutralizing any unwanted color casts and ensuring that the colors in your photos appear natural and true to life.
By paying attention to the color temperature of your light sources, you can create images that convey the desired mood and atmosphere, enhancing the overall impact of your photos.
Create Soft Light with Light That is Close
The quality of light in your photos is greatly influenced by the distance between your light source and your model. In general, moving your light source closer to your model will create softer, more flattering light, while moving it farther away will result in harsher, more directional light.
Soft light is characterized by gentle, gradual transitions between light and shadow, which can be very flattering for portrait photography. To achieve this effect, position your light source as close to your model as possible without it being visible in the frame. This will create a larger light source relative to your model, resulting in softer, more diffused light.
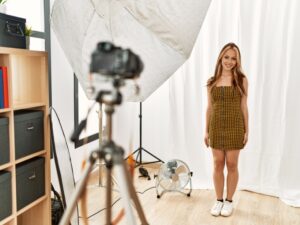
In addition to moving the light source closer, you can also use light modifiers such as softboxes, umbrellas, or diffusers to further soften the light. These tools spread the light over a larger area, reducing harsh shadows and creating a more even, gentle illumination.
When working in small spaces or tight quarters, be mindful of how the proximity of your light source affects the overall exposure of your image. You may need to adjust your camera settings or use a lower-powered light source to avoid overexposing your photos.
Experiment with different distances and light modifiers to find the perfect combination that enhances your model’s features and creates the desired mood for your shoot.
Diffusion Scatters Light
Diffusion is a key technique in photography lighting that scatters light, creating a softer, more even illumination. This effect can be achieved in various ways, both naturally and artificially.
In outdoor photography, natural diffusion occurs when clouds or fog scatter sunlight, creating a soft, even light that is ideal for portraiture. Cloudy days can be a photographer’s best friend, as the diffused light eliminates harsh shadows and highlights, resulting in a more balanced exposure.
Indoors, you can create diffused light by bouncing your light source off a reflective surface, such as a wall or ceiling. This technique spreads the light over a larger area, softening its intensity and creating a more flattering effect. Matte surfaces work best for this purpose, as they scatter light more effectively than glossy surfaces.
Another effective way to diffuse light is by using light modifiers such as softboxes, umbrellas, or diffusion panels. These tools are designed to spread and soften light, reducing harsh shadows and creating a more even, natural-looking illumination.
Backlighting can also be used as a form of diffusion. When the light source is placed behind the model, it creates a gentle, glowing effect that wraps around the subject, softening the overall lighting. This technique is particularly effective for creating ethereal, dreamy images.
By incorporating diffusion into your lighting setup, you can achieve a softer, more natural look in your photos, enhancing the overall quality and aesthetic of your images.
Practical Tips for Model Photography Lighting
While understanding the principles of lighting is crucial, putting them into practice requires careful planning and attention to detail.
Here are some practical tips to help you achieve the best lighting for your model photography:
- Plan Your Shoot Around the Light: If you’re shooting outdoors, plan your sessions around the best natural light. Early morning and late afternoon provide the most flattering light, while midday sunlight can be harsh and unflattering.
- Use Reflectors and Diffusers: Reflectors and diffusers are essential tools for manipulating light. Reflectors can bounce light back onto your model, filling in shadows and creating a more even exposure. Diffusers can soften harsh light, reducing shadows and creating a more flattering illumination.
- Experiment with Different Light Sources: Don’t be afraid to experiment with different types of light sources, both natural and artificial. Each light source has its own unique qualities and can create different effects in your photos.
- Control Your Environment: When shooting indoors, take control of your environment by eliminating unwanted light sources and reflections. Use blackout curtains or blinds to block out external light, and position your lights strategically to create the desired effect.
- Use Light Modifiers: Light modifiers such as softboxes, umbrellas, and diffusion panels can significantly enhance the quality of your light. Experiment with different modifiers to find the best combination for your shoot.
- Adjust Your Camera Settings: Pay close attention to your camera settings, especially your ISO, aperture, and shutter speed. These settings will affect how your camera captures light, so adjust them accordingly to achieve the desired exposure and depth of field.
- Practice and Experiment: Lighting is both an art and a science, and mastering it requires practice and experimentation. Take the time to experiment with different lighting setups, angles, and modifiers to find what works best for you and your style of photography.
By following these tips and techniques, you can create stunning, high-quality images that highlight the beauty and elegance of your models. Remember, lighting is a powerful tool in photography, and mastering it can take your work to the next level.